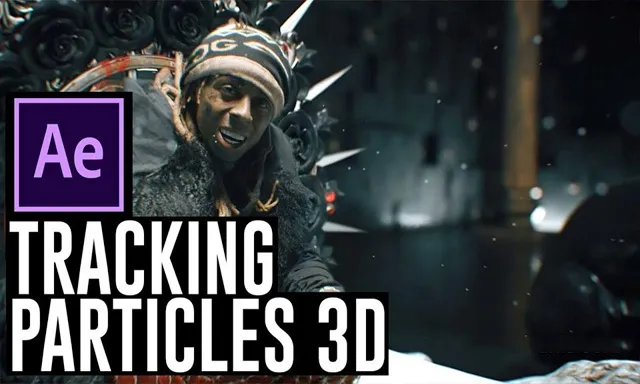
本AE教程是关于AE与C4D炫酷残像特效实例制作视频教程,时长:1小时10分,大小:2.7 GB,MP4高清视频格式,教程使用软件:After Effects,C4D,作者:Reza Zare,共7个章节,语言:英语。
After Effects是Adobe公司推出的一款图形视频处理软件,适用于从事设计和视频特技的机构,包括电视台、动画制作公司、个人后期制作工作室以及多媒体工作室。而在新兴的用户群,如网页设计师和图形设计师中,也开始有越来越多的人在使用After Effects。属于层类型后期软件。
AE全称After Effects是adobe公司开发的一个视频剪辑及设计软件。After Effects ,用于高端视频特效系统的专业特效合成软件,隶属美国Adobe公司。它借鉴了许多优秀软件的的成功之处,将视频特效合成上升到了新的高度:Photoshop中层的引入 ,使AE可以对多层的合成图像进行控制,制作出天衣无缝的合成效果; 关键帧、路径的引入,使我们对控制高级的二维动画游刃有余;高效的视频处理系统,确保了高质量视频的输出;令人眼花缭乱的特技系统使AE能实现使用者的一切创意;AE同样保留有Adobe优秀的软件相互兼容性。
We’re the lucky ones here today because the glitch is an incredibly cool and stylish tool. Basically, it’s just some randomly changing pixels with some logic behind it. And if you’re watching this video then you probably already know that. So in this Masterclass, I’m going to show you the main techniques that I use to create glitch elements in After Effects. I’ve been working with this style for a couple of years by now and here are some simple yet very effective techniques that I like.
STEP 1
Main Features
In this lesson you will learn the basic techniques of creating glitch elements, and the tricks I use in almost every project.
STEP 2
3D Tracking in After Effects
In this part, you will make object tracking in After Effects with 3D Camera Tracker, and you will understand how to track object movements, and learn some tips I usually use.
STEP 3
Object Tracking in Cinema 4D
If you can’t track your object in After Effects, you will move to Cinema 4D and do Object Tracking here. Cinema 4D is a powerful tool for tracking, it takes more time, but the result is worth it.
STEP 4
Creating Elements Part 1
In this part, you will attach the future graphics to the object, learn some useful tips & tricks, and also begin to create glitch elements for graphics.
STEP 5
Creating Elements Part 2
Proceed with elements, put them in space, add a beautiful glow to the scene, and also make the final touches. And RENDER.
STEP 6
Breakdown 1. AR Controller
In this lesson I will tell you about creating a video with the “AR Controller”, how I created everything from the beginning to the end, what tools I used.
STEP 7
Breakdown 2. Space Bank Card
In this lesson I will tell you about creating a video with a “Space Bank Card”, how I created everything from the beginning to the end, what tools I used.
©版权声明
「特别说明」趣光影(www.aeown.com)收集的资源仅供内部学习研究软件设计思想和原理使用,学习研究后请自觉删除,请勿传播,因未及时删除所造成的任何后果责任自负。如果用于其他用途,请购买正版支持作者,谢谢!若您认为 趣光影(www.aeown.com)发布的内容若侵犯到您的权益,请点击此处侵权反馈。我们将第一时间配合处理!




评论0